I was delighted to get some time over the weekend to start work on another excellent kit from TT Combat. This one is Tavington Heights. I'd purchased it a year or so ago at least. I'd never gotten round to it for a number of reasons. However, we've recently started playing A Fistful of Kung Fu. Having thoroughly enjoyed assembling, painting and gaming inside the Warehouse, the opportunity to do the same with more buildings is really appealing. Don't get me wrong, I love scratch building my own scenery still. But the MDF kits are great to game inside, something I've struggled to find a way to replicate in foam core. I know how I could do it, but the shells wouldn't be as rigid and I fear they might warp either in the painting stage or over the years stored in my loft.
For £17.95 post free in the UK, you get an awful lot of kit.
And as always, I begin with a dry fit. This helps me see the assembly process and (hopefully) foresee any stages that may need special attention. Now, I know people have commented in the past that there are no instructions for TT Combat's kits. This has changed in recent times. This kit has fully illustrated instructions. You can often also download instructions from their website. So there's really not a problem.
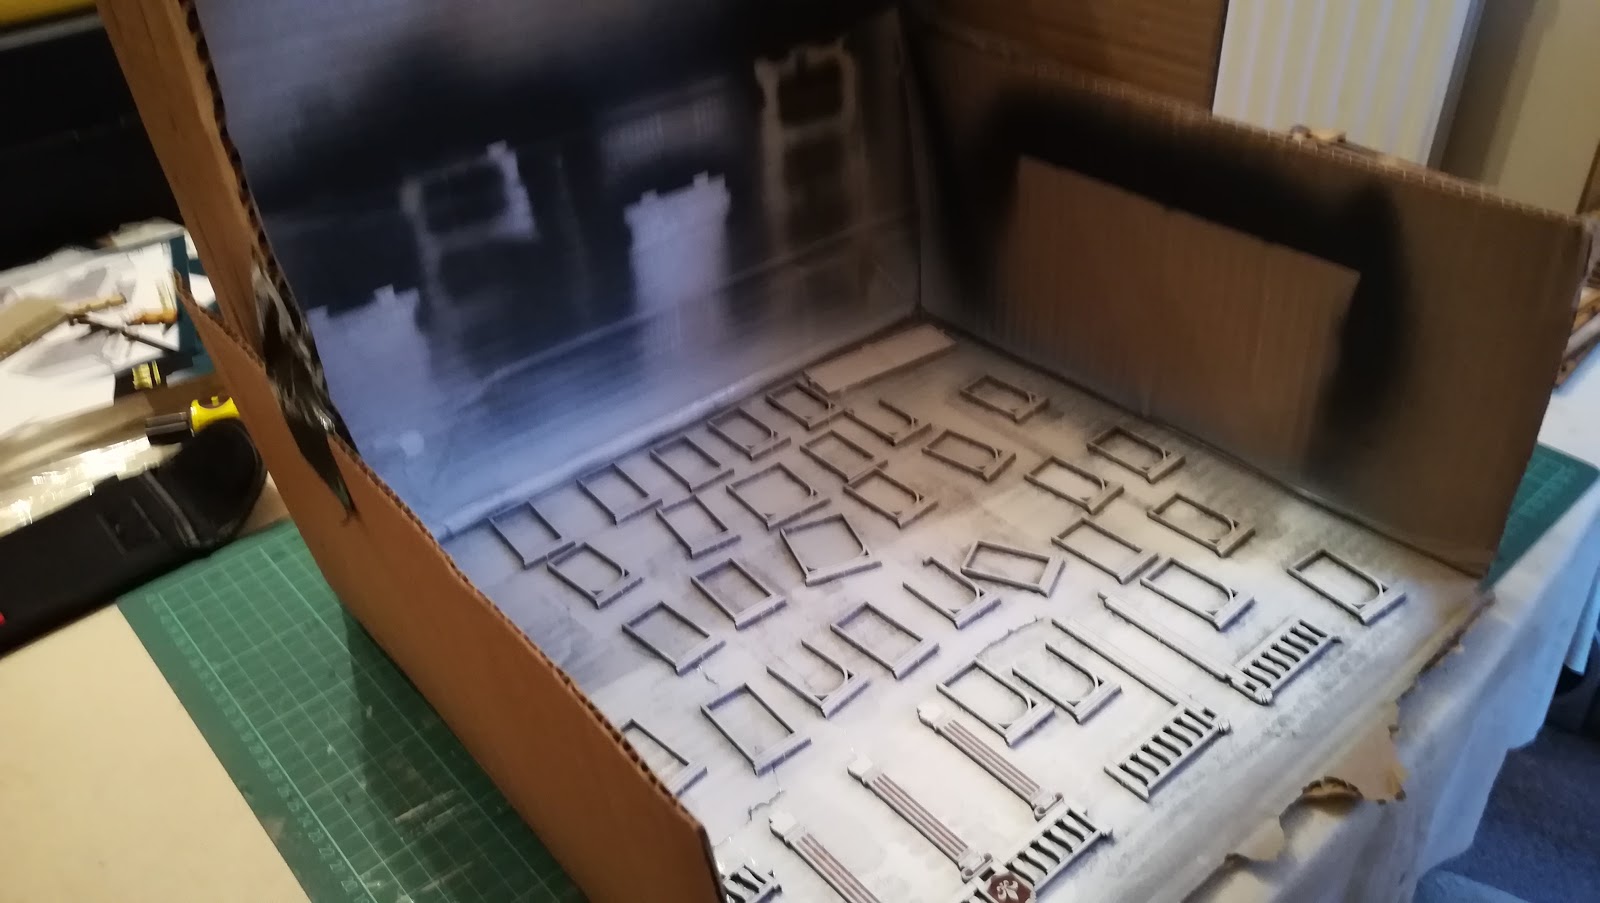
For all the health and safety reasons, I bravely decamped to my back garden to prime the pieces. First up was all the sections that would be sprayed black.
In the past I'"ve purchased paints from B&Q ranging in price from £8-£12 a tin. Nowadays THOUGH I use car spray paint from Poundland. You can guess the price...!
And I have to say that it works a treat.
And it was at this point that I had a really clever idea. But it turned out not to be. At all. Let me explain...
There are some lovely window frames in this kit. You stick them on the front of the house. Now, to make things easier when it came to painting them, I decided to keep them separate. I could then paint them and assemble the windows before assembling the walls. Experience tells me this is much, much easier. Especially when it comes to the perspex I use to represent glass. How proud I was to decide to spray these external window frames with gloss paint. It would make them really stand out when the building is sat on the terrain.
Unfortunately, as you can see from the picture above and below this text, the paint decided it wasn't going to behave. I certainly wasn't going to cover the MDF. At all. It sank without trace into the edges of the frames. It soaked into the surface detailing never to return. Before I knew it, I had run out of paint.
'No worries,' I thought, and toddled off to Poundland to get a replacement. They only had one left on the shelf. I obviously got there at just the right time.
I returned and went and sprayed them all again.
And for a time they looked good.
The cardboard spraying booth certainly looked the part.
It's a pity I can't say the same for the actual pieces of kit.
Clearly, there is no hint of priming in this paint at all.
So what have I learned? Well, essentially, black matt good, white gloss bad. Truth be told, it doesn't say anywhere on either can that one is a primer and the other is not.
Now, if you'll excuse me, I need to get on with painting each of these parts by hand. And since I'm dealing with gloss, I'm away to a hobby store to buy a Humbrol gloss white enamel paint. Oh, and some turps.
This is clearly going to take a lot longer than I had originally hoped...


Comments
Post a Comment