The next instalment of that most lamentable of tales, The Doom of Aethelweard, was set to take place in the marshes (10.3.14). Having failed spectacularly to keep the fell Draugr from the church, Aethelweard had added insult to injury by only just managing to rescue two sheep when he had given chase across the moorland.
Now he had learned that one of the monks had been able to slip the Draugr's clutches. And without the aid of a satnav, he was stuck in the marshes looking for a way home...
This next part of our Saga (and it really is turning into a right one, I can tell you!) was Bring Them Back Alive! (10.4.1) Aethelweard has lost the last two encounters. Can he turn things around at last?
Our two forces would set up on opposite sides of the table, with 6" deep deployment zones. The hapless monk was placed right in the centre of the board where he would remain until he came into base contact with one of our troops. He would then be moved with the aforesaid model. Of course, if anyone else made base contact, the possession of the Monk would be contested and Melee would have to result. At stake were +40RP for escorting the Monk from the table, or +10RP to the Draugr if they killed him.
Both forces were deployed at the full 6" into the board. This would be a dash to the centre to secure the monk. It would all come down to the initiative roll and the maximum speed our little men could run...
And as you can expect with my dice rolling, it wasn't going well at all for Aethelweard. Glars Glarsson managed to reach the monk first, touching base and claiming possession. It was all I could do to get my Fyrd to close in on the same turn to coontest him.
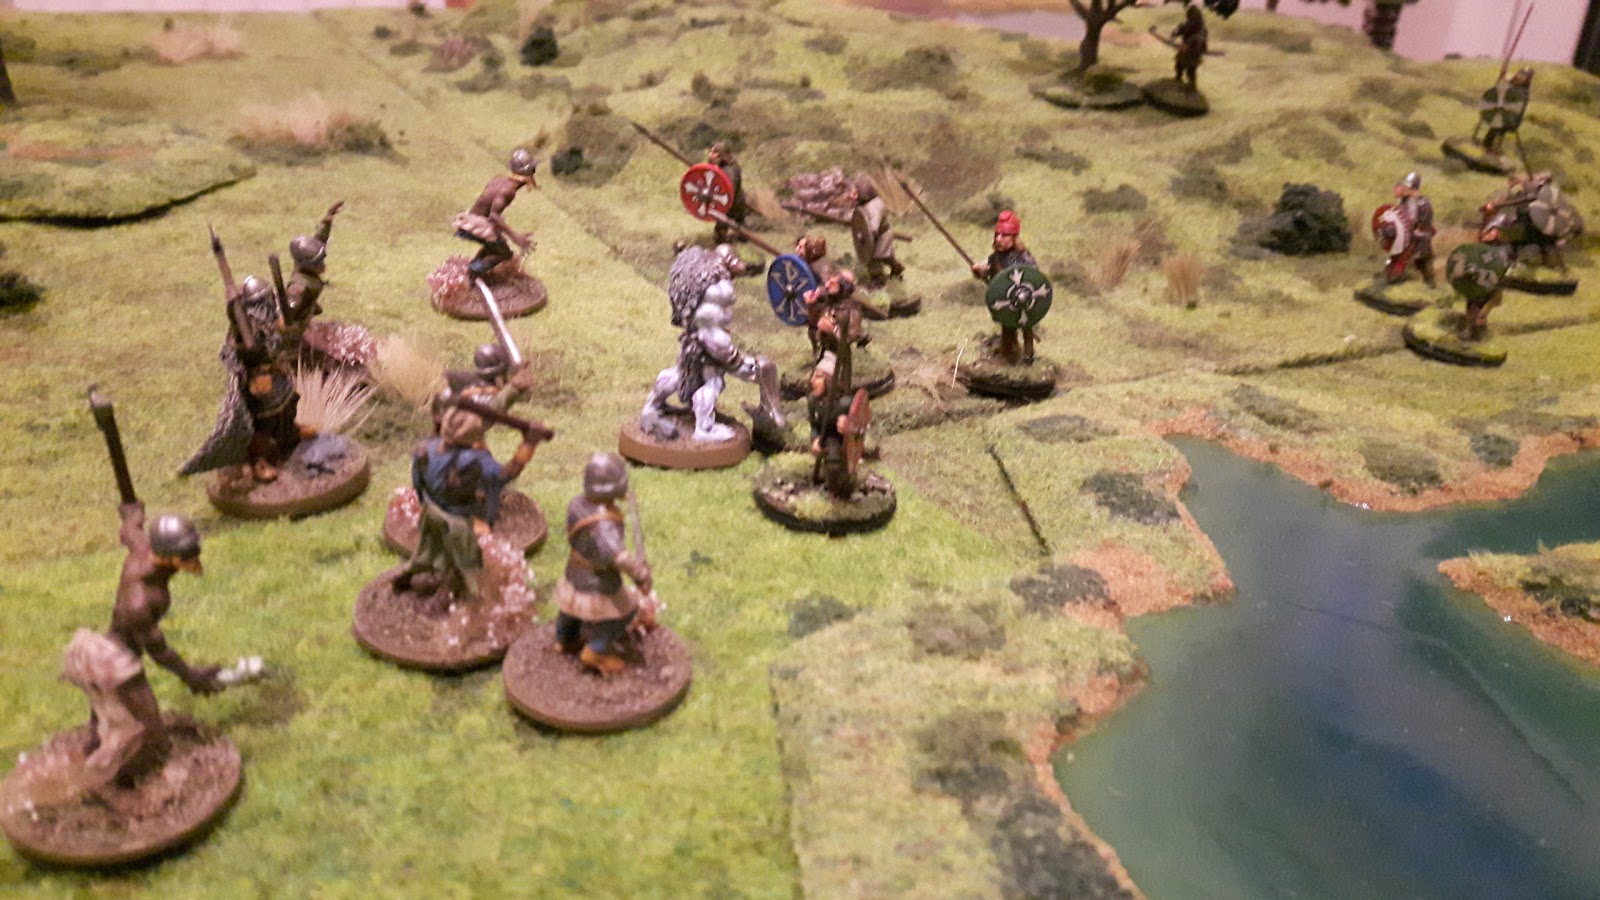
And as the melee began in earnest, Aethelweard's doom came ever closer due to the sound of mighty crashing feet. "Great," said Eadwulf, "They have a Jotun!" Look, you can see him stomping his way towards the fray in this next photo...
Over the next few turns, my Fyrd did a great job of holding back the tide whilst giving Eadwulf and Aethelweard time to join in the fracas.
And to be honest, the game became so tense that I completely forgot to take any more photographs. Aethelweard and Eadwulf managed to hold the Jotun at bay. This allowed the rest of the men to concentrate on contesting possession of the monk. The Fyrd spearmen surrounded Glars Glarsson, but they could do nothing more than knock him down. Through their combined arms, they managed to do this at the end of the turn. Glars lay on the ground, no longer able to contest the monk. We rolled the initiative for the next turn. If I managed to activate first, one of the Fyrd could move the monk out of harm's way and victory would be Aethelweard's.
Aethelwear's doom was on the dice roll, which of course I managed to fail. Glars was activated first, succeeded his Fate roll to get on his feet, and the Fyrd were all back to square one. Of course, the player with the initiative gets to split the fights and make the first attack. With no hope of having enough warriors to come to his aid, Glars Glarsson lifted his mighty axe and brought it crashing down on the hapless monk. The monk managed to fail his Fate roll and he was cleaved in two.
And with that the fate of the encounter, and that of Aethelweard himself, was determined. The brave Anglo-Saxons surrendered the field, and Aethelweard's doom seemed certain as he now had a hat trick of failures under his belt.
On the plus side, none of his injured Fyrd were killed, and I managed to pick up +4RP for the casualties I had caused. I ended this part of the Saga with a grand total of 341 points.


Comments
Post a Comment