Water's Edge: The New(ish) Modular Terrain Board Rebuild
on
Get link
Facebook
X
Pinterest
Email
Other Apps
I have to be honest and confess I'm really enjoying adapting this old, incomplete terrain board. And although I don't have the funds available to progress the build the same way I did first time round, I'm actually loving this old school approach. Who'd have thought that paper mache could be so therapeutic?
(If you don't actually know what I'm on about, you can see the origin of this build here.)
You may remember (or you've just caught up) that I didn't have a newspaper for my paper mache. Instead, I'm using strips of paper I have cut up from my 'To Be Shredded' pile. This may well be just as good a method of recycling as using newspaper, but there's a flaw in it.
You remember how newsprint goes everywhere? Remember how it turns newspaper mache into a grey sludge? Yeah. I didn't realise how helpful that was. My shredding paper doesn't go grey. This means that whole chunks of it stay white. Now, it sure does look pretty and isn't half as messy on your fingers. Sure, it's probably stronger because the paper is thicker. But the trouble is, it's...white. Not a problem in itself. But I'm sticking it over the top of polystyrene chunks. These chunks are...white. Which means that with the best will in the world, you're going to miss some bits.
Which is what these first pictures are about. You may notice it's a bit like looking for the proverbial needle in a haystack.
So I set about filling in the gaps with my trusty strips of paper and my 50/50 mix of PVA and water.
And while I stood back and admired my handiwork, I decided I was enjoying this too much to stop and leave it for a couple of days to dry. I determined to make use of the drying time and texture the water section of the board. The process will take about three days to dry out, so it makes sense to complete the glueing phase in one go.
What follows is a new approach for me. Until now, I've only worried about small bodies of water in ponds or streams. In these cases, I've used Woodland Scenic's Realistic Water and Water Effects. But here I'm using a much larger body of water. So I'm trying something completely different.
What follows is not my idea. It's a process I saw on a video tutorial by marklinofsweden. It may be used for model railways, but the result looks absolutely fantastic and I want to try and replicate it here on my board. You can see the awesome tutorial here:
Here's my attempt to do the same. I'm really feeling the pressure now.
My only deviation from marklinofsweden's post is I'm using some dirt cheap (read practically useless) kitchen towel rather than toilet paper. Having done so, I'm encouraging you to use toilet paper. It'll be less hassle. Trust marklinofsweden. he know's what he's talking about.
Here's a reminder of the space I'm going to fill.
Unlike marklinofsweden, my build doesn't have the same straight edges as his build has. I wasn't sure how it would go. But in the spirit of trying to make it look more like his work, I decided to cut each of my pieces of kitchen towel into quarters. I thought it would be easier to get it into the spaces I need it to fit.
Having coated the already sized MDF board with my mix of PVA and glue, I began laying out the pieces of kitchen towel. And as my finger began to get rather sticky, you'll understand why I didn't take any pictures after this point.
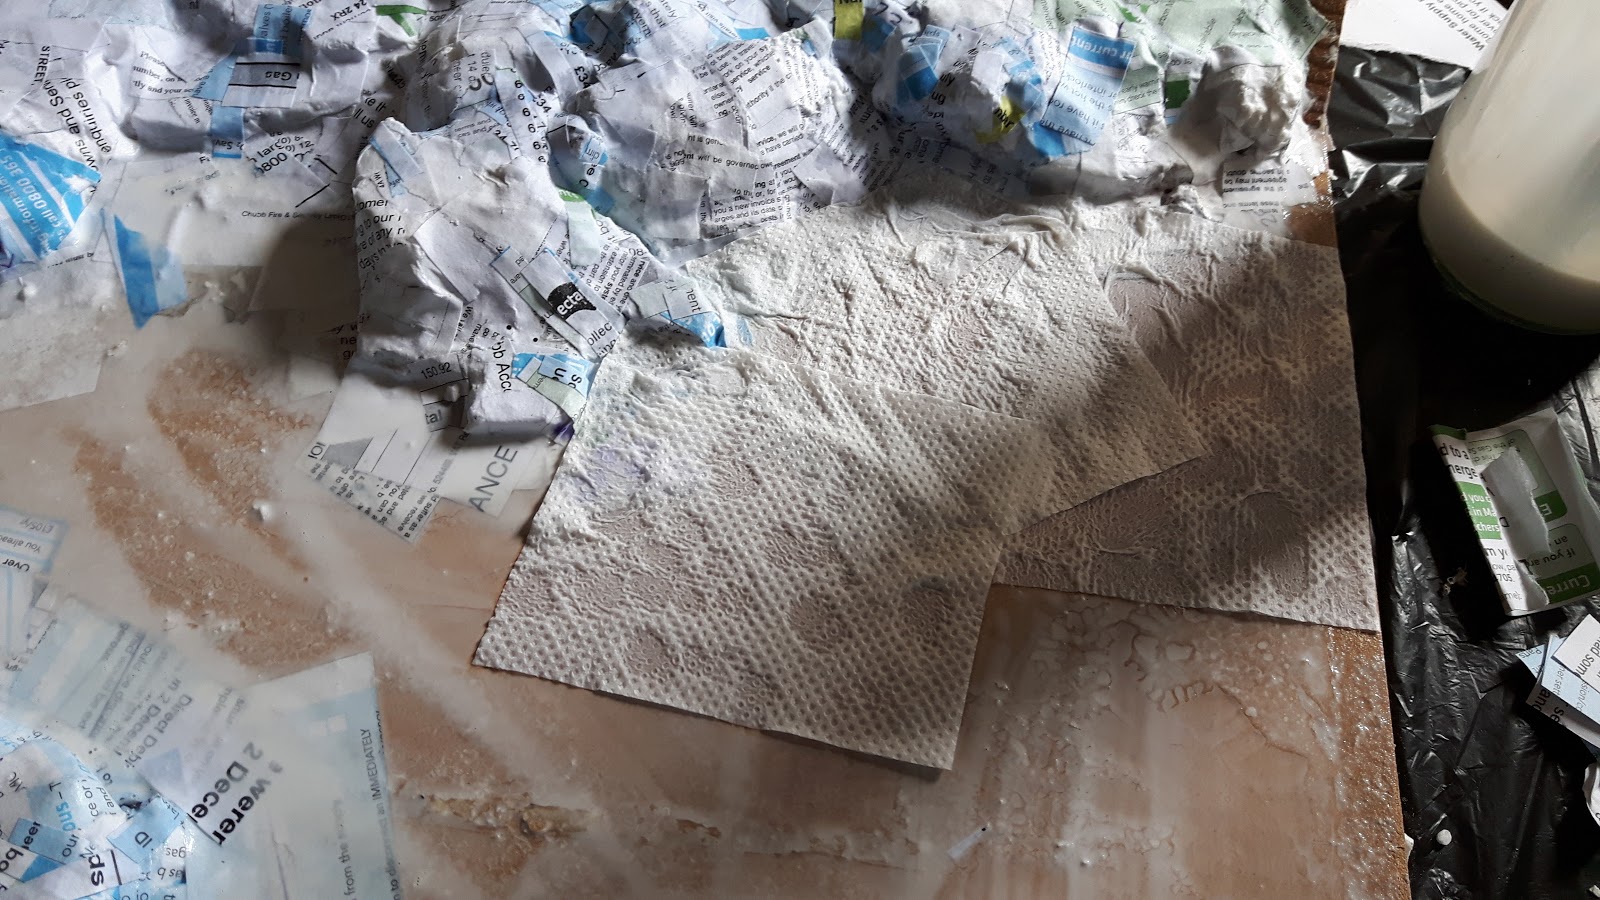
I did, however, pause to take a photo of the board as it looked when I had laid on my third layer of kitchen towel. It was harder to remove the edges of the kitchen towel than I expected. For this reason, I encourage you to use toilet paper like the master says.
I added some more of my glue mix on top of the third layer and then began using my brush to push the kitchen towel around. I wanted to create bowed waves on the water's surface.
I must confess, I'm rather proud of the result.
It looks rather good to my eye.
Especially at a model's eye view.
Talking of which, here's a newly assembled British trooper from the Napoleonic wars to give everything some sense of scale.
Of course, this will take a long time to dry out, so it'll be a few days before I'll be able to post more on this build. The next step will be to paint the land and the water. Then it'll be time to apply all the gloss.
As always, thanks for stopping by and sharing the journey!


Comments
Post a Comment