356 Challenge Day 96 Hours 45.5

Before I get started with this post, I'd just like to record my sincere thanks to all of you out there in the big wide world of the interweb. I am bowled over to see my humble blog getting hundreds of hits daily. This was never my expectation. I set up this blog to record my actual hobby time and provide a place where I could make note of what I had done for future reference. I figured it was much better than trying to find the old scraps of paper I had used to record measurements and methods in the past. it never even crossed my mind that my ramblings would be of interest to others. It's even more remarkable to see so many page hits when I've had so little time of late. The joy of two jobs, additional work as and when it comes in, and studies as well have severely hampered my hobby time. So thank you most sincerely for sticking with my blog. I'm humbled.
As you know, I'm putting together some Anglo-Saxon buildings. The main drive for this is Blood Eagle, but they would be more than suitable for any Dark Age game. I also plan to use them with Dux Britanniarum which is set at the other end of the period. Then there's Dux Bellorum. And SAGA and, well, you get the picture. They can be used with a lot of games! I've tried to make these buildings as authentic as possible, and true to Anglo-Saxon building methods. This hasn't been particularly easy as almost everywhere you go you find yourself bombarded with all things Viking. This may well be all very good for Viking players. But as someone who often draws the short straw and ends up having to stand up to these big strapping bearded bullies, it seems only fitting that I made some authentic buildings for my brave warriors to defend. Oh who am I trying to kid. I'm making buildings for my friends' Vikings to plunder. I'm universally detested by any dice I use, so I can't see my plucky little men rewriting history any time soon...

Inspiration for this build comes straight out of the pages of the rather excellent book "A Street Through Time" illustrated by Steve Noon. As you can see in the picture, a lot of the things are labelled, but the curious building I'm guessing is a grain store isn't. But it is good to know that the boat is wooden..!

As always, I'm using my recycled foam core for the build. And as my supply is running out, it's time to make use off my off-cuts pile. I came across a suitable L-Shaped piece which I guessed would provide me with enough material.
The first thing to do is to decide on the size of the thing and lay out the plans onto the foam core. As always i'm using my steel rule, large plastic set square and my trusty ball point pen. My grain store is going to be 3cmm deep by 6cm wide. I'm raising it 2cm above the ground on 5mm wide legs. I.m using this measurement because it matches the width of the foam core I'm using. They'll be a little wider than that on the finished model once I've done the cladding, but let's not get head of our selves here!
I should also note that I'm making joints to my buildings, so I don't need to compensate for the width of the foam core when laying out my sections.


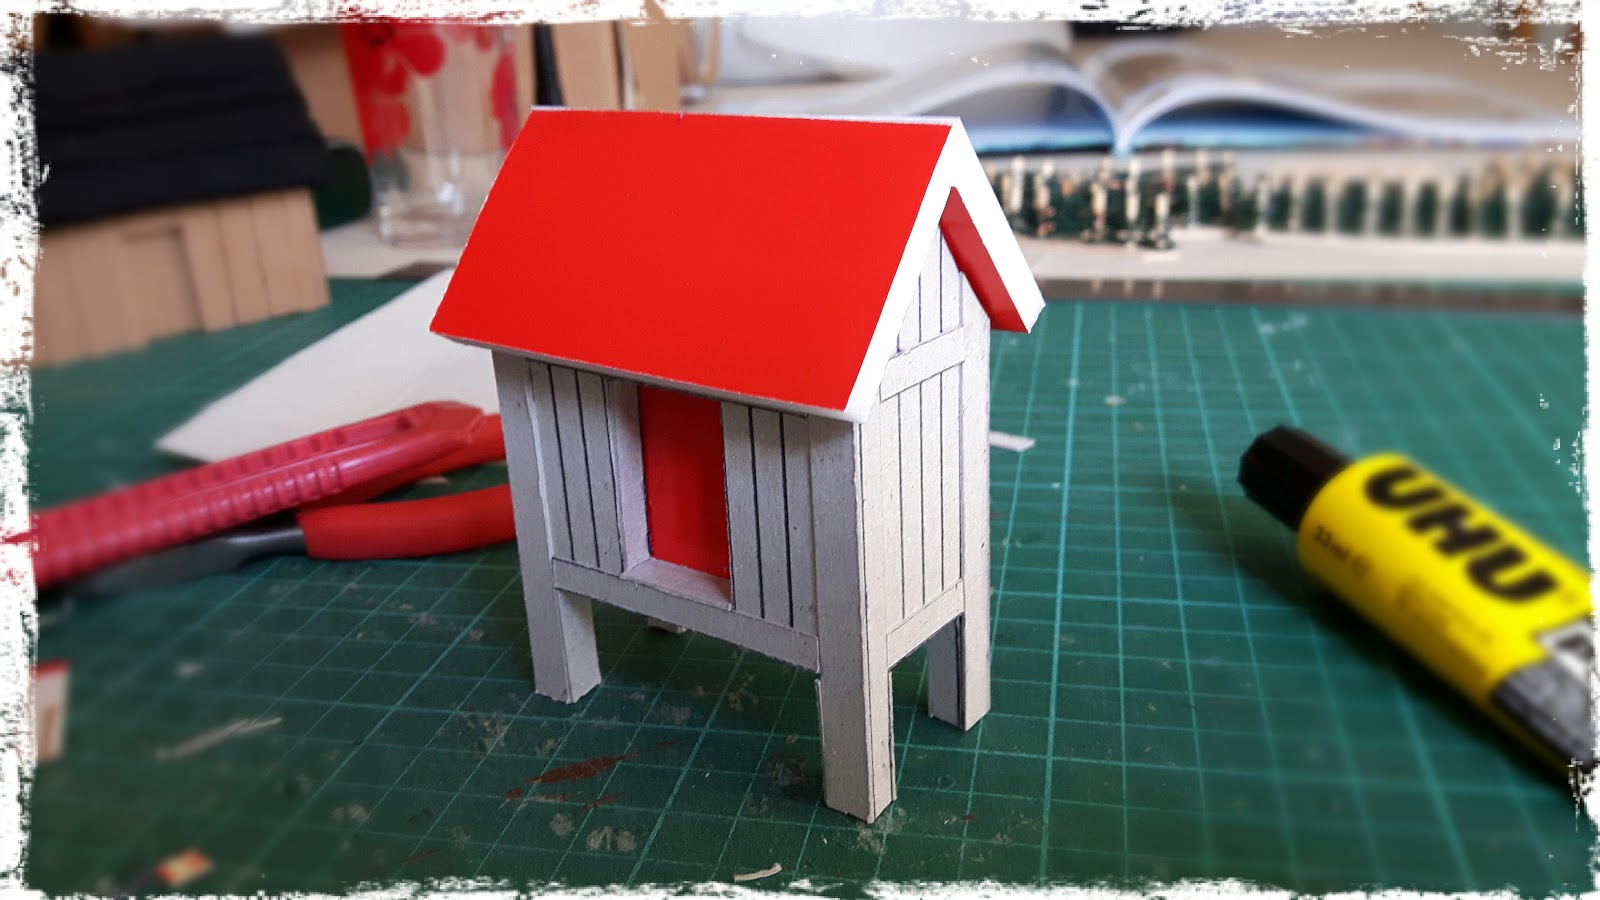
And the finished work can be seen below:
Comments
Post a Comment