Find the first part here: Razing the Skyline
And the base boards the building will sit on here: Happiness is the Road Part Deux
Buoyed up by the +1's and positive comments from fellow gamers on Google+ and this blog, I've been busy working away at the first of my buildings for our upcoming All Things Zombie campaign.
Please remember this model represents but a small section of a much larger structure. It's footprint is largely off the board. That's why it looks incomplete on the two sides which sit on the edge of the boards. To detail them would make the building too small for the effect I'm trying to achieve.
The first thing to be done was to darken the interior of the building. If you're making this kind of building with black foamcore then you won't have this problem. As for me, well I needed to paint the interior black. When you do this you run the risk of a little warping, but this presents no real problems. If you are using the kind of foamcore I am then you're used to a little warping anyway. Of course, I plan to add some joints to the sides of the rest of the buildings to help with assembly. Don't know where my head was when I drew out this one!


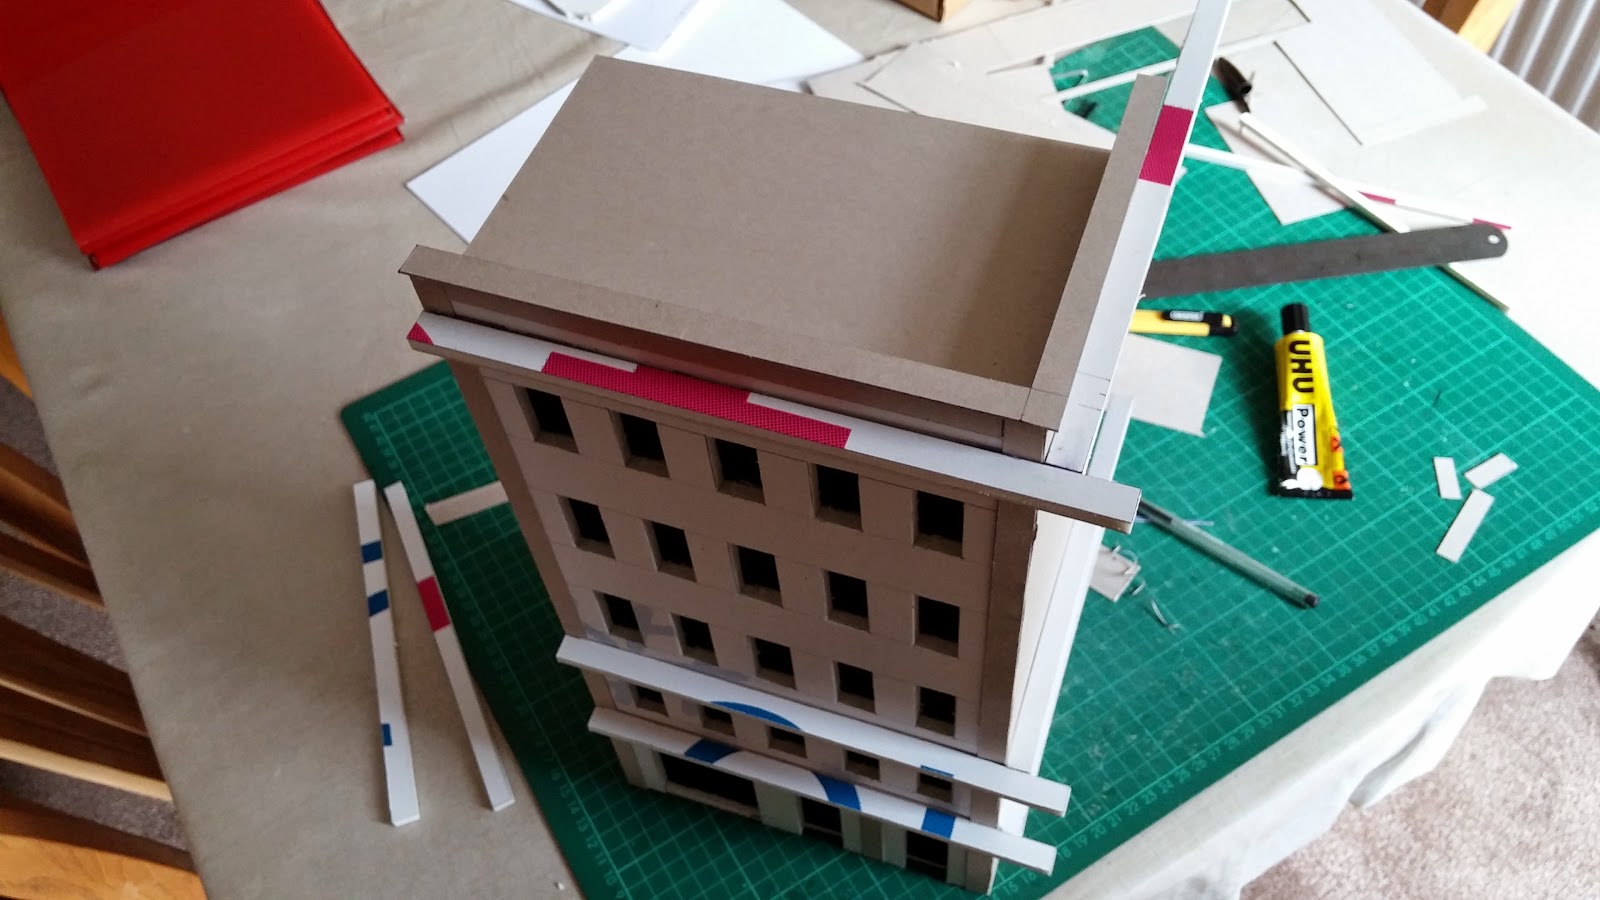
 But there's much to do before then! In order to cover the visible joints in the building, and to add some variation to the depth of the surface, I'm covering sections with card. Not the fancy stuff you understand. The card that wraps breakfast cereals. And why not? I like its thickness, and there's always plenty of it around our house. Once that is on, its time to add the foamcore strips. At the expense of losing anyone with a passing acquaintance of architecture, I confess I don't know what they are called. But I see them on lots of photos of american city buildings. So I'm adding them to my building. (And if you know what they are called, please use the comments box below and tell me!) Anyhoo, here's a flyover shot from a passing helicopter so you can see the edging of the roof as well.
 And now the view from across the street with the ends cut.
 And at this point I realised I needed to add a raised section to the two floors that were looking particularly neglected.


And the base boards the building will sit on here: Happiness is the Road Part Deux
Buoyed up by the +1's and positive comments from fellow gamers on Google+ and this blog, I've been busy working away at the first of my buildings for our upcoming All Things Zombie campaign.
Please remember this model represents but a small section of a much larger structure. It's footprint is largely off the board. That's why it looks incomplete on the two sides which sit on the edge of the boards. To detail them would make the building too small for the effect I'm trying to achieve.
The first thing to be done was to darken the interior of the building. If you're making this kind of building with black foamcore then you won't have this problem. As for me, well I needed to paint the interior black. When you do this you run the risk of a little warping, but this presents no real problems. If you are using the kind of foamcore I am then you're used to a little warping anyway. Of course, I plan to add some joints to the sides of the rest of the buildings to help with assembly. Don't know where my head was when I drew out this one!
And here are the sides, floor and roof sections glued together and held together with the help of some trusty elastic bands.
And with the front on...
I must admit this was a scary thing for me to do. I'm used to adding all the windows to the building before assembling it. You'll see this approach throughout my blog. But because this is a modern setting, there are so many more windows than I've ever had to make before for a scenery project. So they have all been measured out on the computer and will be printed, folded and glued into position as the final stage, once the building has been painted. It's probably a little more accurate, and will help with the uniformity of the structure.
That's better.
And so to the painting, which begins another head scratching session as I search for suitable colours. Once I eventually manage to settle on one that I mixed myself, the base coat is rather liberally applied on the front and side. The other side and back are painted in the same base shade as the boards. Not as boring as plain black, and hopefully will blend into the board when viewed from the usual wargaming position.
Then it was time for some shading to add definition, followed by painting the edging grey. Shading this up to white is taking a lot longer than I initially thought.
Once the white is finished, it'll be time to print out and make the windows and glue them in place. That'll make a Part Three then...
Comments
Post a Comment